Type
 Single PlyDuplexTriplex
Size
Size-info

Stock
Stock-info
Stock
Stock
Print Process
Offset offers the highest print quality and color accuracy
, but Digital offers a quicker turnaround and is available with a Same Day service.
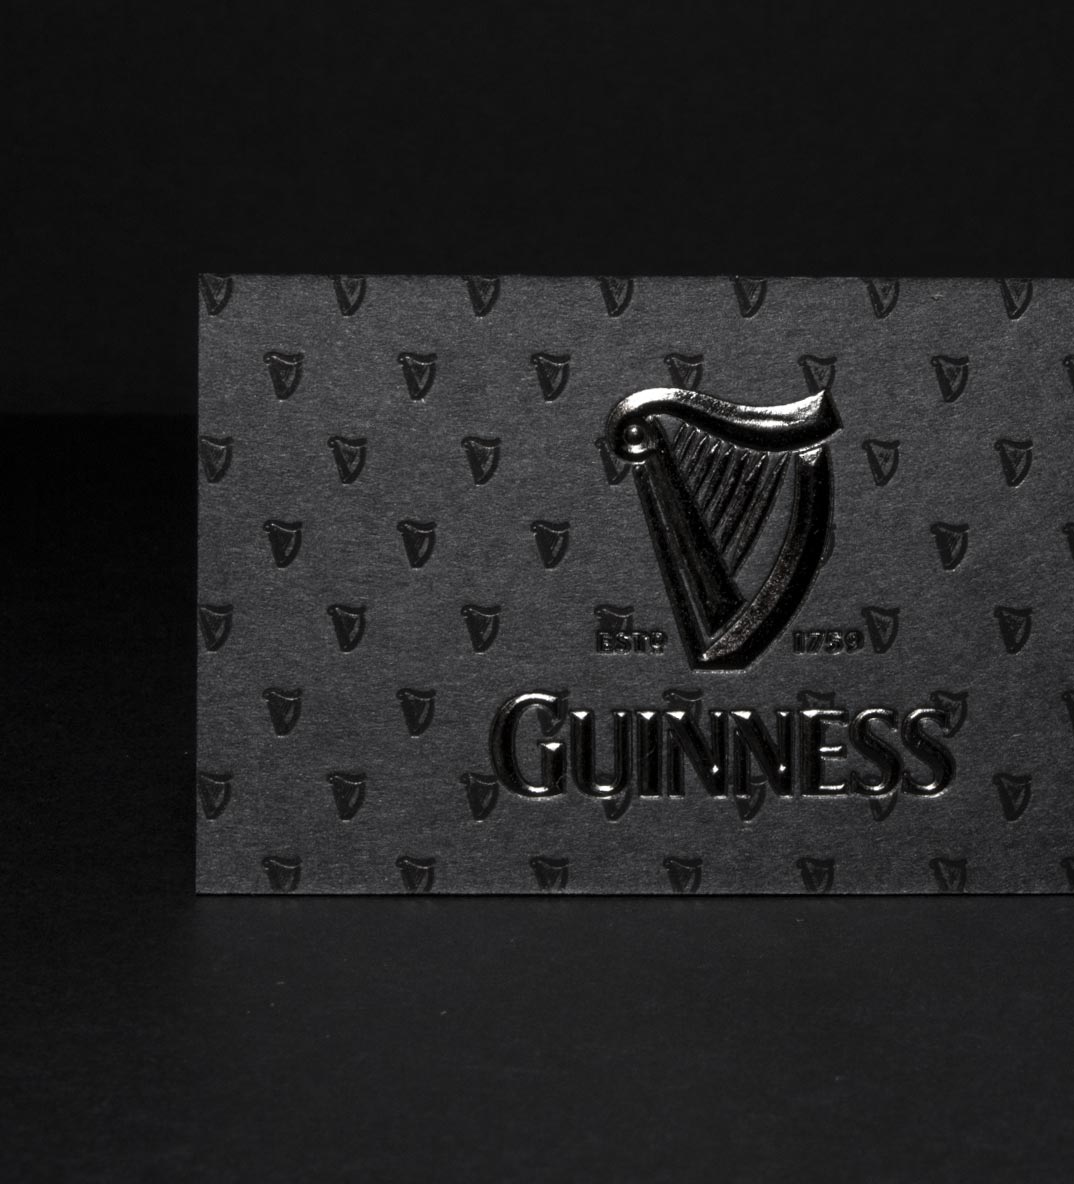
Select Sides for Foil
You can apply foil to the front, back, or both sides. Only one foil color can be used across both sides. Need more than one foil color or a more complex setup? Request a custom quote and our team will help you out.
Front Foil Color
(Metallic Gold)
This refers to the total number of sticker sheets you want to order
Corners
Corners
Proofing Method
Proofing Method Description
-+
$359USD
Add-ons
Starting from$50
Need these in hurry? See our Rush options here!
Starting from$60
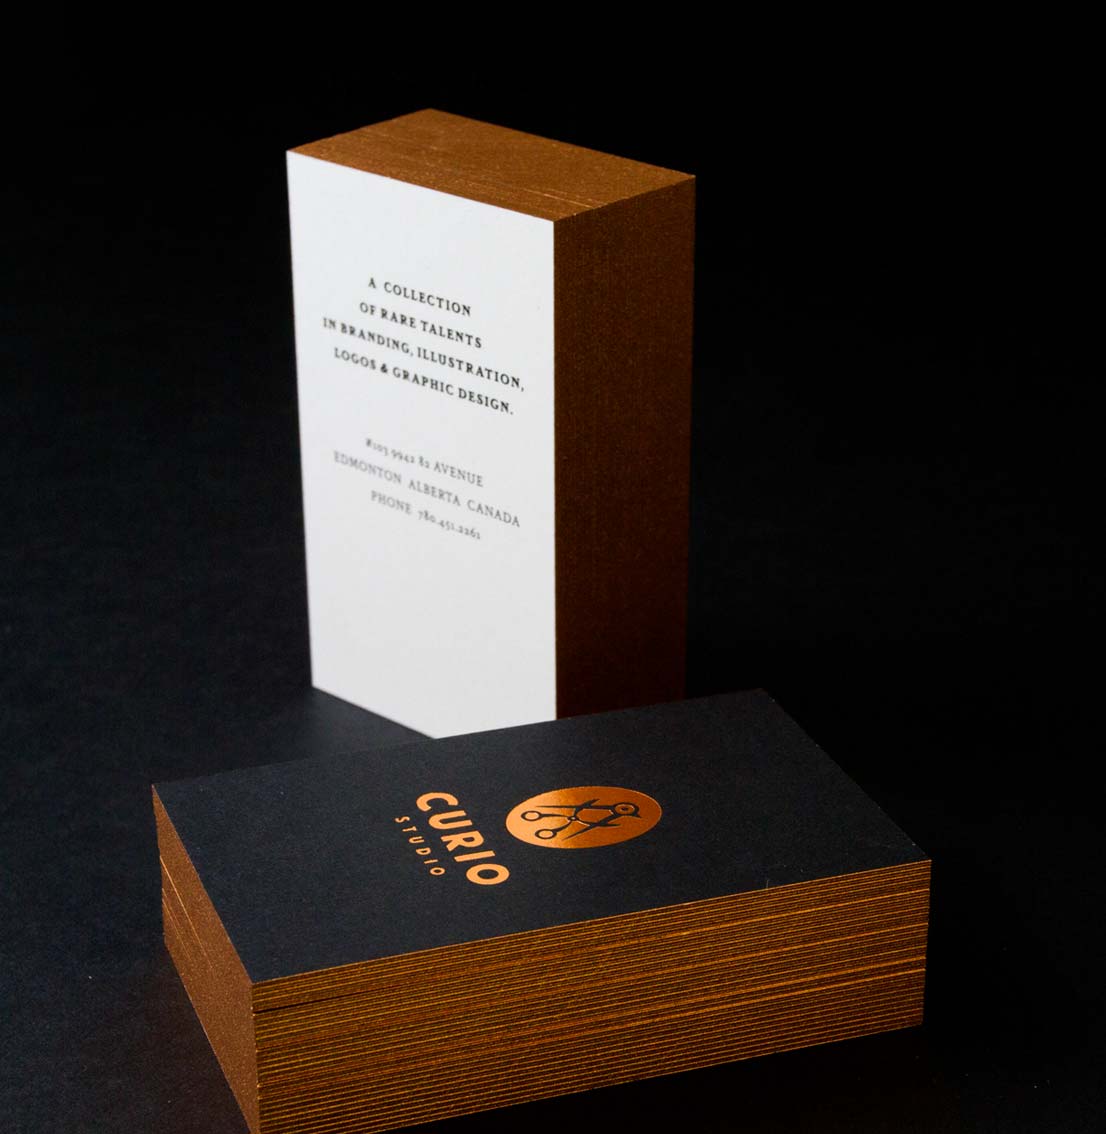
See your Edge Foil and Edge Color (painted edges) options here!
Starting from$23
Add rounded corners to your order here! You can choose from 1 to 4 corners.